This is not the first time we installed vinyl or laminate flooring with my husband. We have installed laminate flooring for an office kitchen and office and LVP (luxury vinyl plank) for a bathroom and bedroom.
Today I will share the vinyl floor we installed in a business location for a lounge area. I listed some tips to consider if you plan to do it yourself.
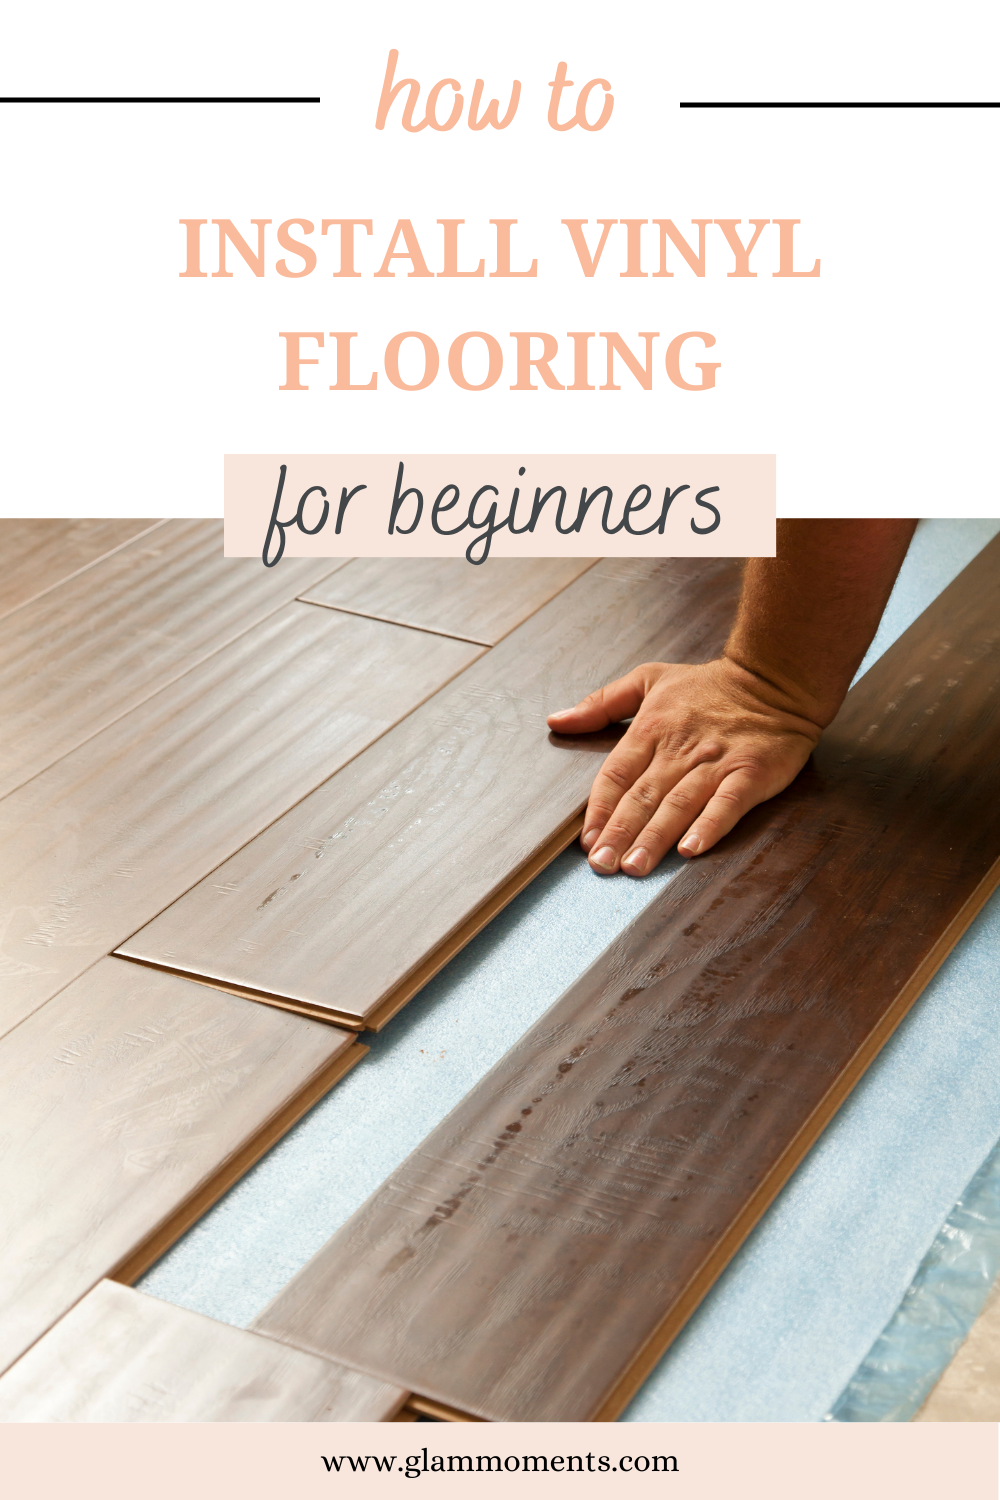
Let’s get to the post. I was going back and forth if I should get laminate or vinyl flooring for this project and decoded on vinyl due to the high-traffic area this place would have and the durability.

Tools and Supplies needed for installing vinyl or laminate flooring:
- Pick a floor – I know this is obvious, but I felt had to mention it.
- Decide on underlayment; some are more expensive than others. Even if the floor comes with it, I suggest you install an addition. It helps with insulation and noise.
- Flooring Cutter – I use ours all the time. I wish I could tell you you can get away without one, but you definitely need one.
- Flooring Installation kit (it has it all) – spacers, tapping block, heavy-duty pull bar, handle mallet
- Additional Spacers – I always use more than one box.
- Pencil – for marking where the cutting needs to be
- Measuring tool
- Knee pads – definately helping
Here is the full list with all the products mentioned above.
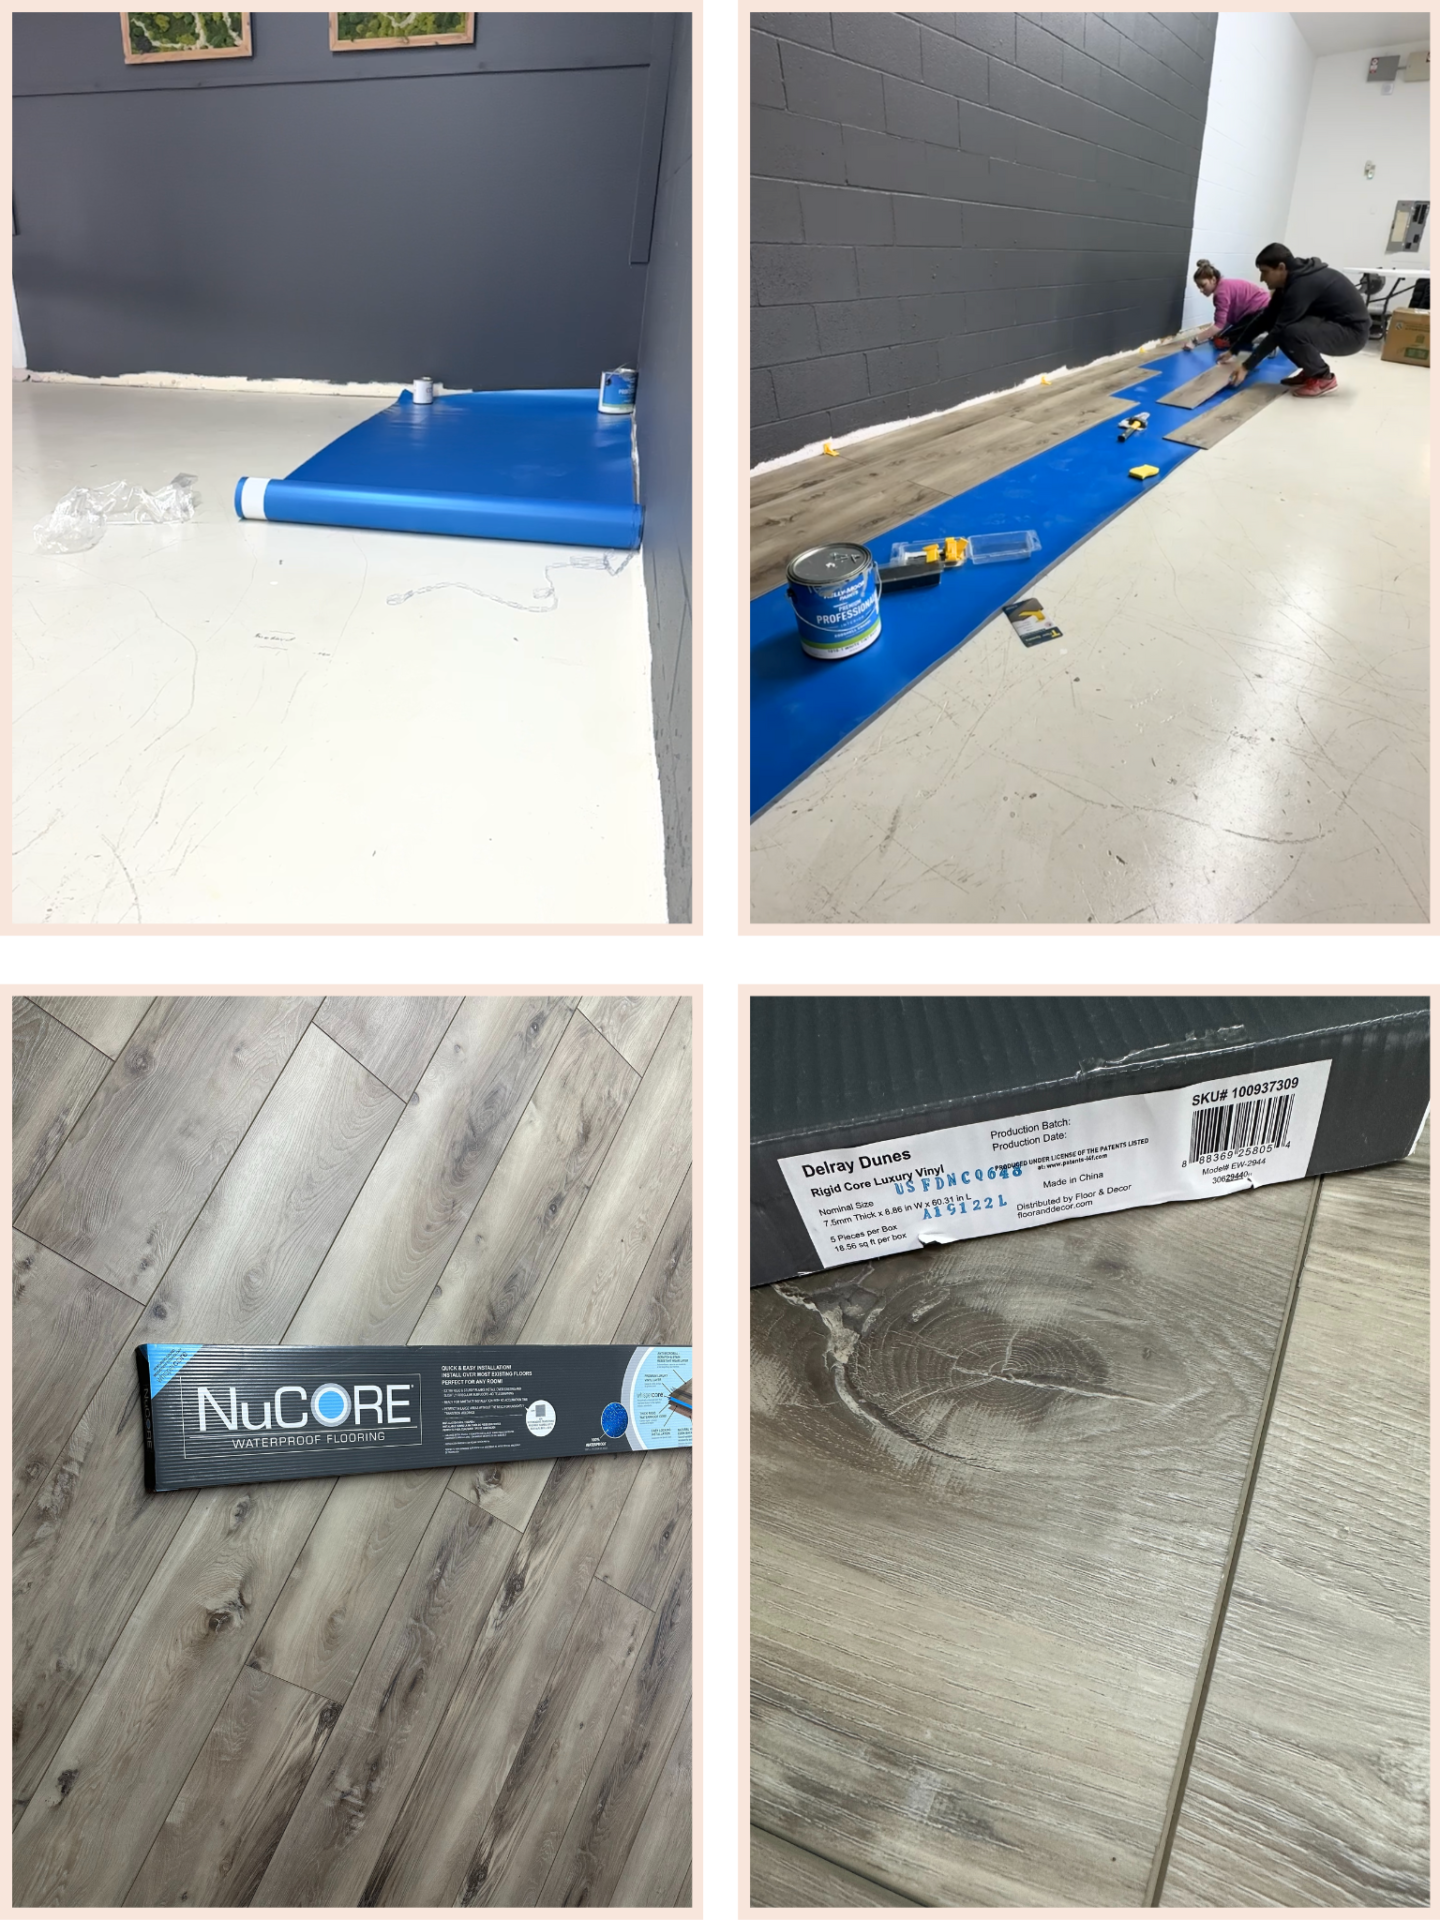
If you decide to install vinyl or laminate flooring yourself, you will save a lot of money. The installation services are not cheap at all. The flooring we chose (image above), was from Floor and Decor. It is not a sponsored product; we paid for it.
I love this floor; it was the easiest install we have ever done on flooring. The images are not the best quality because I had no time for that, but I created videos you can see on my Instagram here.
One important thing to remember is to ensure that the surface you install on the floor is even and that there are no bumps; otherwise, it may affect the flooring. The padding can compensate for a bit of uneven floor, but not if it’s really bumpy.
Related: Check the last projects I did and save a lot of money HERE.
When installing the floor tiles, open a couple of boxes and pick planks from the different boxes each time so you don’t end up with the same patterns for the first 5-10 pieces. Also, the shades are slightly different; mixing them will make it look more natural.

I love the way the floor came together. It took us two days for 450 sq ft because we had other things to do during the day. Otherwise, one day from start to finish will be totally doable.
You can install flooring yourself if you need to watch some YouTube videos for suggestions and tips do so. Mistakes may happen, but it is part of the learning process; once you get the idea when installing it gets easier and it will save you money. Seeing the finished project is so satisfying.
Thank you for reading my blog, if you have any questions, feel free to leave a comment below. Check more of my DIY Home, Gardening, and Lifestyle on Instagram and YouTube.